Panhard Exhaust Valve Insert & Guide Replacement
31/03/13 20:02 Filed in: Panhard Engine
I have to say without doubt, this is the single most awkward task I have tackled on a Panhard engine. Valve guide removal on a 50 year old engine is not for the fainthearted, and even though copious amounts of heat were used, the whole process requires levels of force that make you wince.
After making a suitable drift and warming the cylinder up, (spit just beads off), I inverted it onto my anvil!
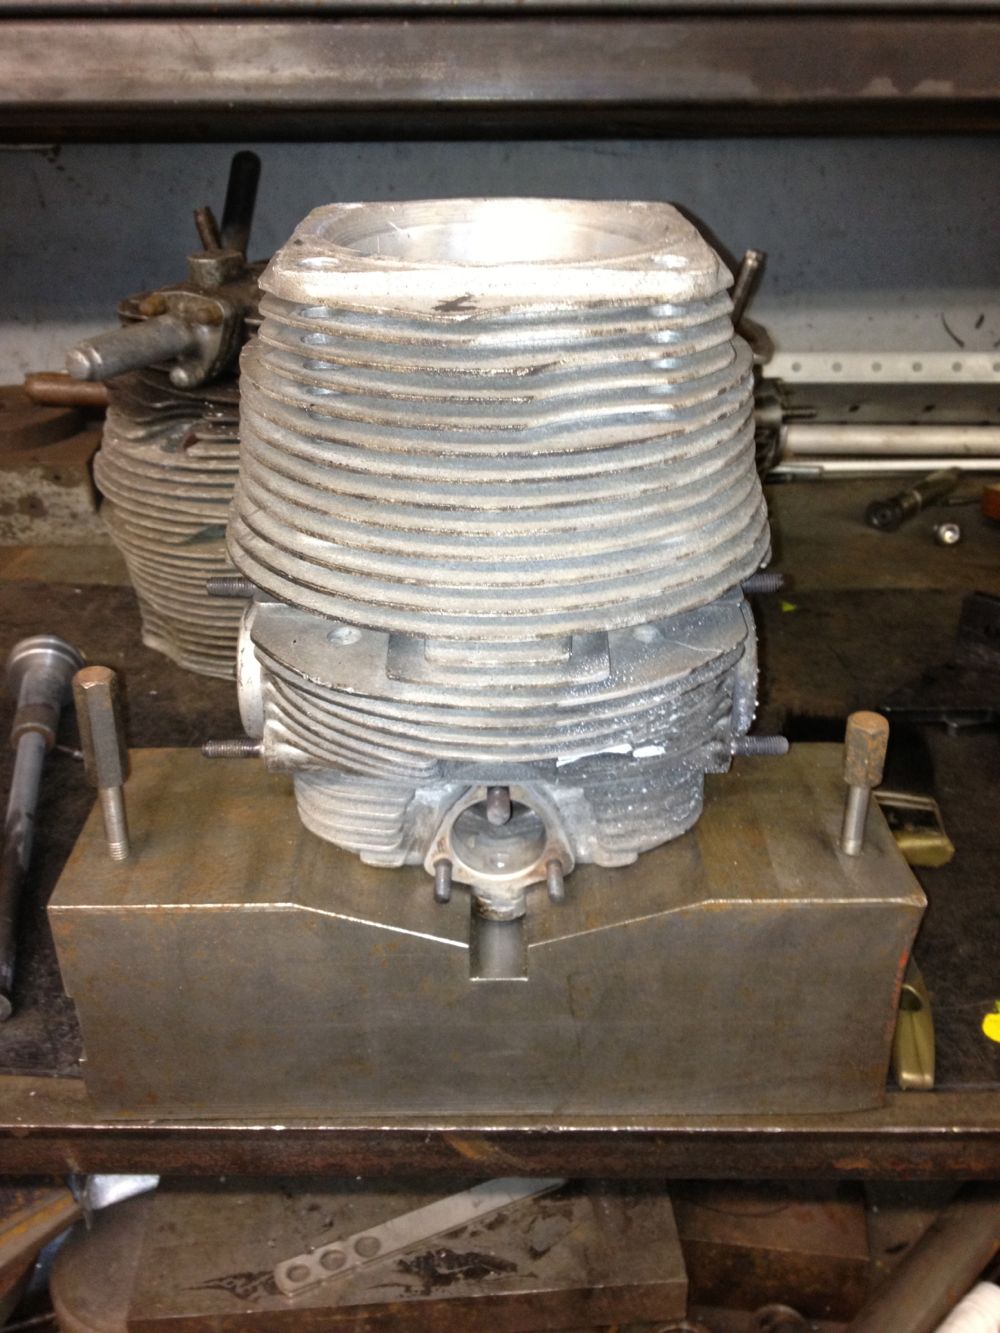
After a dozen blows, it started to move, by which time it was cooling, so I decided to drill the inner out some more and lose some of the interference fit. I then heated the cylinder up some more and inverted it quickly on the anvil ( the cotton towelling rag caught alight!), and hit the guide some more. Finally it eased out and the cylinder looked like this.
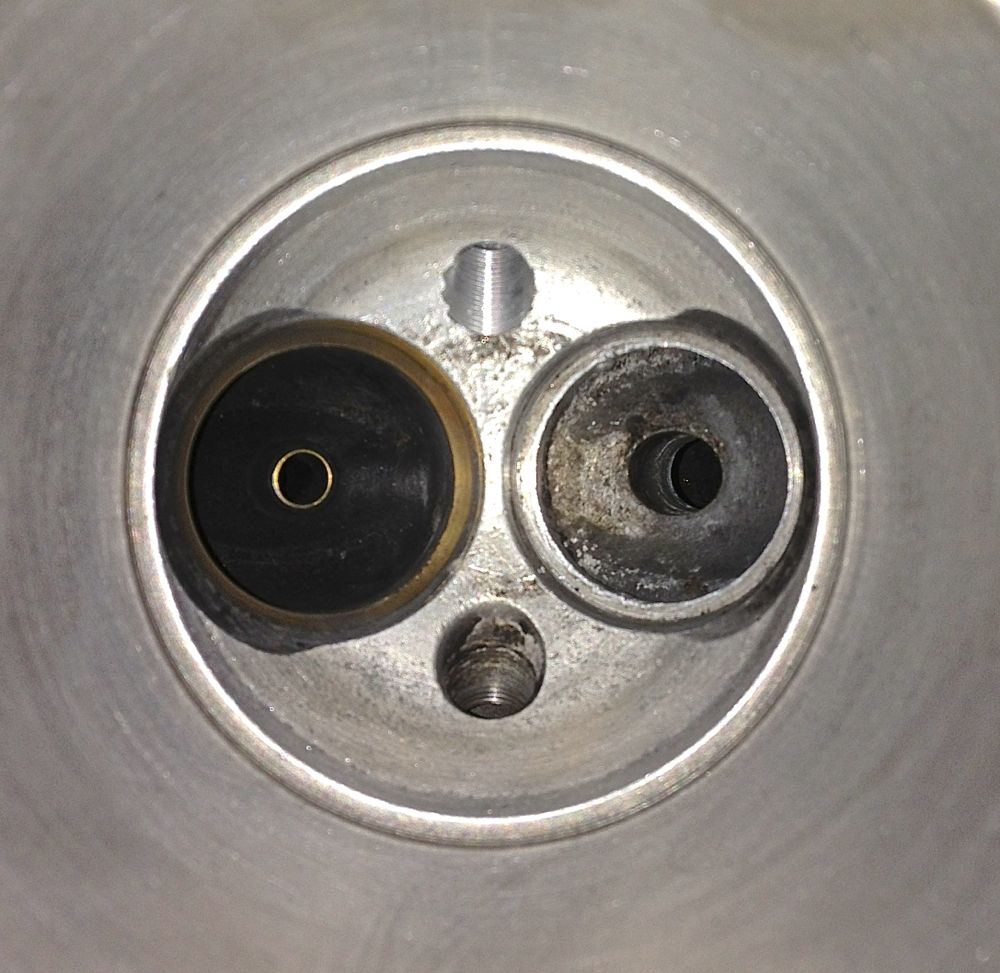
The seat had been removed previously.
Now the task of refitting the guide, I decide this was first up as the smaller diameter required more heat to open up, so my thinking was do this first, then top up the heat and tackle the insert.I successfully managed this, but it was a two stage process, because even though the guide was -17ºC, it soon warmed when in contact with the cylinder head and it needed a reheat to ease it into the head. I also made a specially turned up brass drift, so as not to damage the new guide.
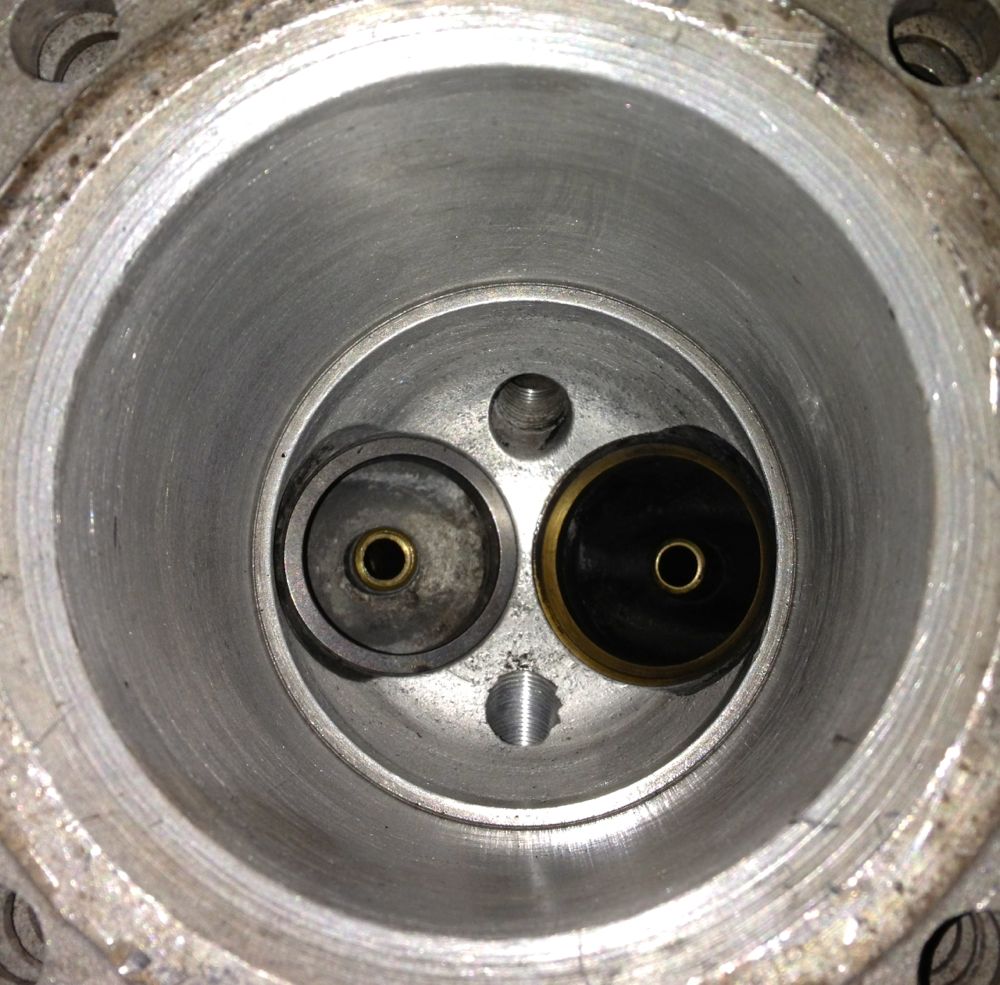
Anyway, I next did the insert and here it is just installed, blueing on the heat transfer from the cylinder! You can see the new guide too.
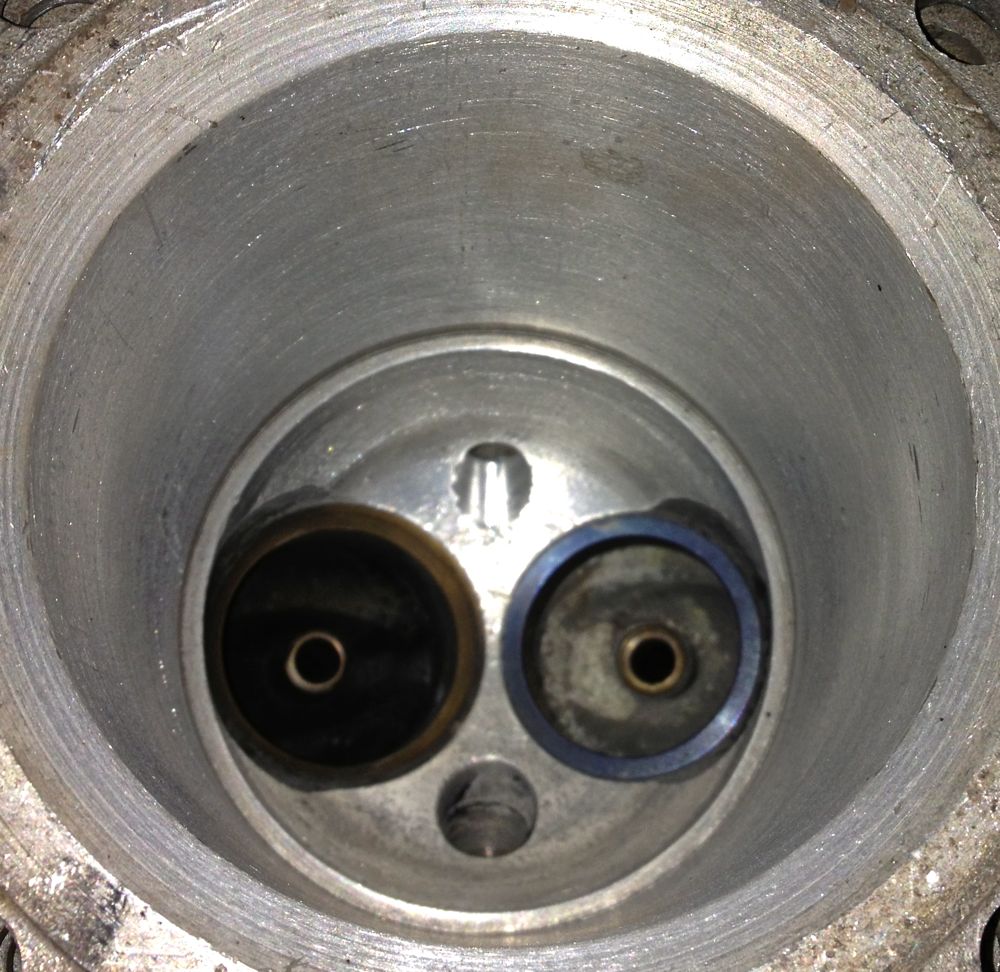
All this was possible by modifying my seat installation tool, shown below, complete with burnt paper! This is the interference fit, so you can extract the installation tool, as the seat insert shrinks. It was wonderful to watch as the cold insert heated up from outside to middle as it absorbed the heat, proof that there is a heat transfer path at this point.
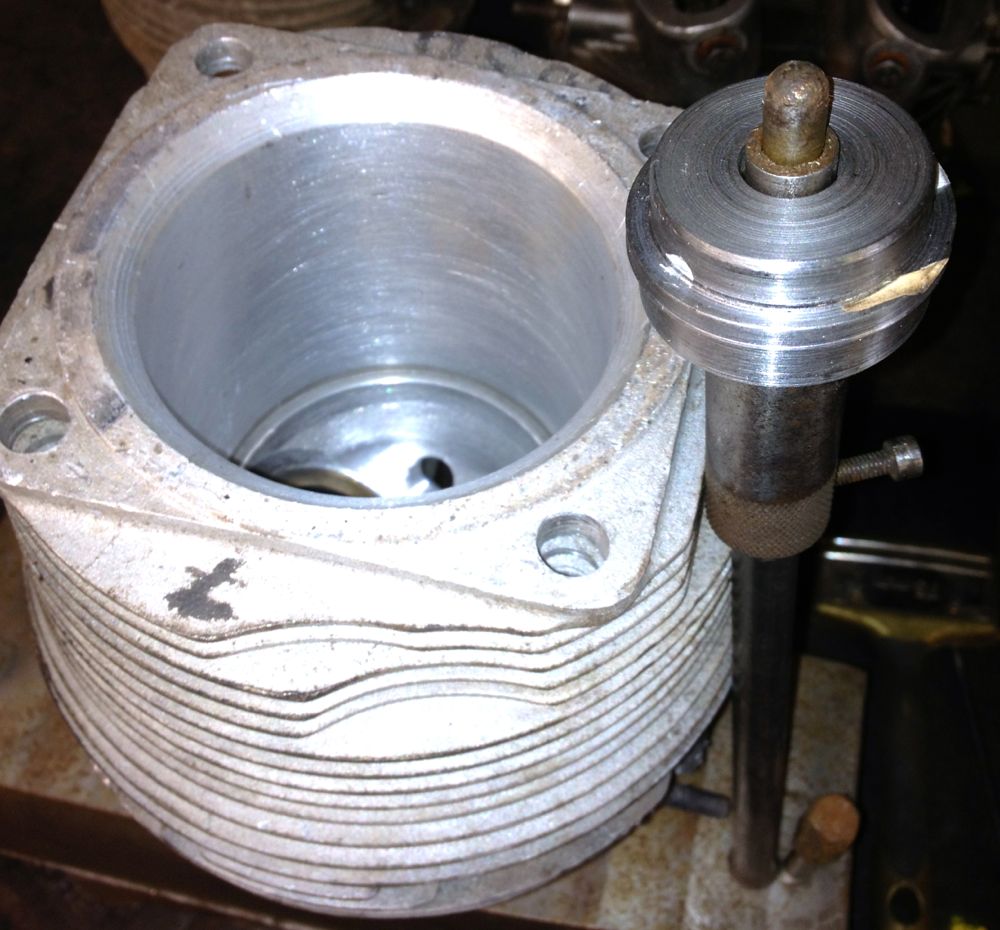
Here is the cooler result about half an hour later, so I just need to recut the valve seat, to finish, but that’s for another day.
Definitely not for the faint hearted, and as a result I am going to make some new valve guides next time and re-machine the cylinders each time I do this in the future.
After making a suitable drift and warming the cylinder up, (spit just beads off), I inverted it onto my anvil!

After a dozen blows, it started to move, by which time it was cooling, so I decided to drill the inner out some more and lose some of the interference fit. I then heated the cylinder up some more and inverted it quickly on the anvil ( the cotton towelling rag caught alight!), and hit the guide some more. Finally it eased out and the cylinder looked like this.

The seat had been removed previously.
Now the task of refitting the guide, I decide this was first up as the smaller diameter required more heat to open up, so my thinking was do this first, then top up the heat and tackle the insert.I successfully managed this, but it was a two stage process, because even though the guide was -17ºC, it soon warmed when in contact with the cylinder head and it needed a reheat to ease it into the head. I also made a specially turned up brass drift, so as not to damage the new guide.
Anyway, I next did the insert and here it is just installed, blueing on the heat transfer from the cylinder! You can see the new guide too.

All this was possible by modifying my seat installation tool, shown below, complete with burnt paper! This is the interference fit, so you can extract the installation tool, as the seat insert shrinks. It was wonderful to watch as the cold insert heated up from outside to middle as it absorbed the heat, proof that there is a heat transfer path at this point.

Here is the cooler result about half an hour later, so I just need to recut the valve seat, to finish, but that’s for another day.

Definitely not for the faint hearted, and as a result I am going to make some new valve guides next time and re-machine the cylinders each time I do this in the future.
blog comments powered by Disqus
