Panhard Front Timing Cover Modification 1
18/03/13 18:27 Filed in: Panhard Engine
I have decided to fit electronic ignition to Brian’s engine, and although I can do it a few ways, and have done so in the past, I thought I’d raise the bar a little for Brian’s lump. As I don’t know where the advance curve will want to be, and I didn’t fancy a manual advance & retard system, that could get out of range with disastrous results inadvertently by persons unnamed, it was decided to fit programmable ignition that could cater for twin spark, as well as wasted spark aka Citröen 2CV.
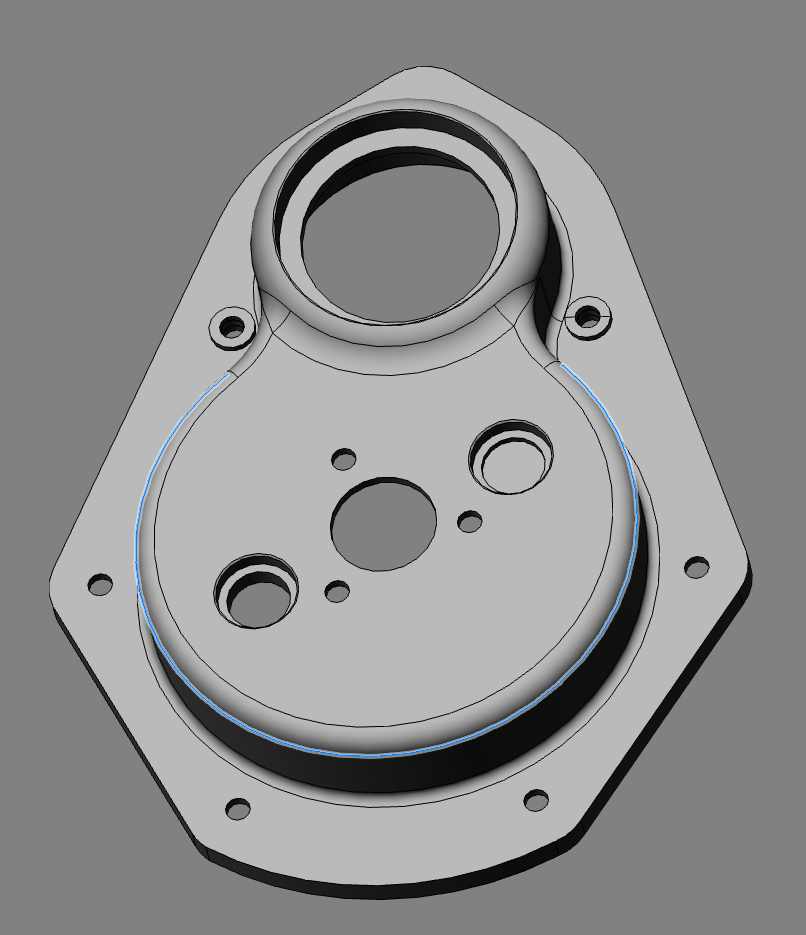
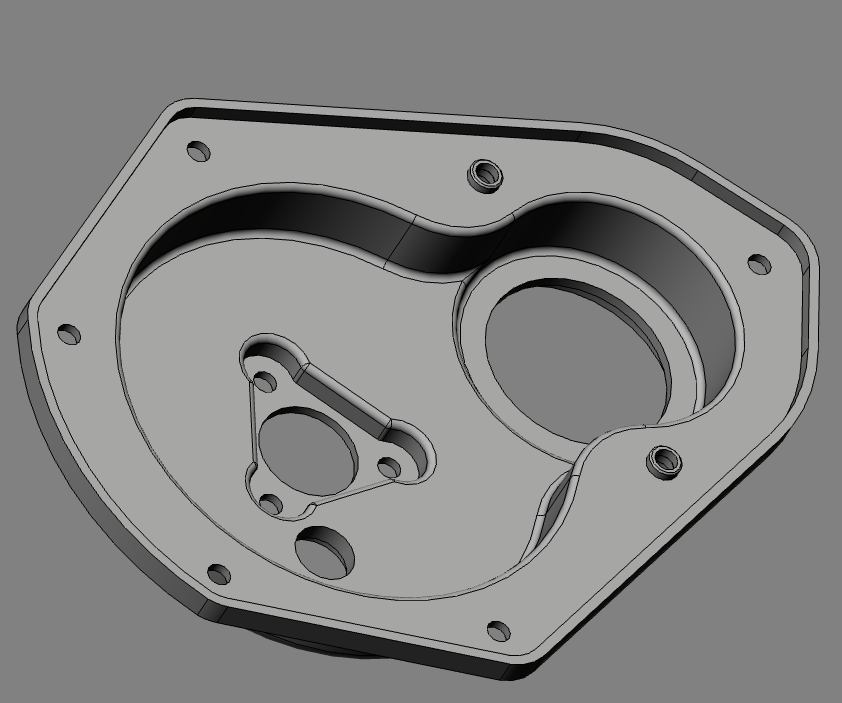
I have identified an ignition system that I could use, that allowed adjustments via a laptop on the fly, which means as you are driving along, unlike TuneECU & my brother’s KTM, but that’s another story. Anyway, after looking at the ignition system some more and exploring how I could build it in neatly to the existing engine, I decided that the front cover was the best choice for my future plans. I need a cam sensor, and I have looked at using the pushrods, the rocker arms and a proximity sensor, but it was all too complicated. I modified Brian’s front cover to take a modern oil seal, and was going to start making a pulley based trigger wheel like I drew some time ago. However the cost of these parts outweighed their usefulness, so I decided Ito revisit the cover again. A couple of hours later, I had a 3D model, based on the dimensions of the original pressed cover,, that had the flexibility to accept any manner of different tooth triggering systems, and a front crankshaft seal that could cater for all ranges of front pulley mods others have done.
A few hiccups, later, one revision to cope with the planned programmable ignition unit, another because of the cost of the sensor loom, meant I’m on the third & hopefully final iteration of the new front cover. It should be more affordable, especially as I have got rid of those over priced Renault connectors. At the moment it is machined from billet, but there is a possibility I can use a casting, however this depends on numbers and whether it is economic to go this type of production process. because you still have to machine the casting, although you do save on roughing out the billet.


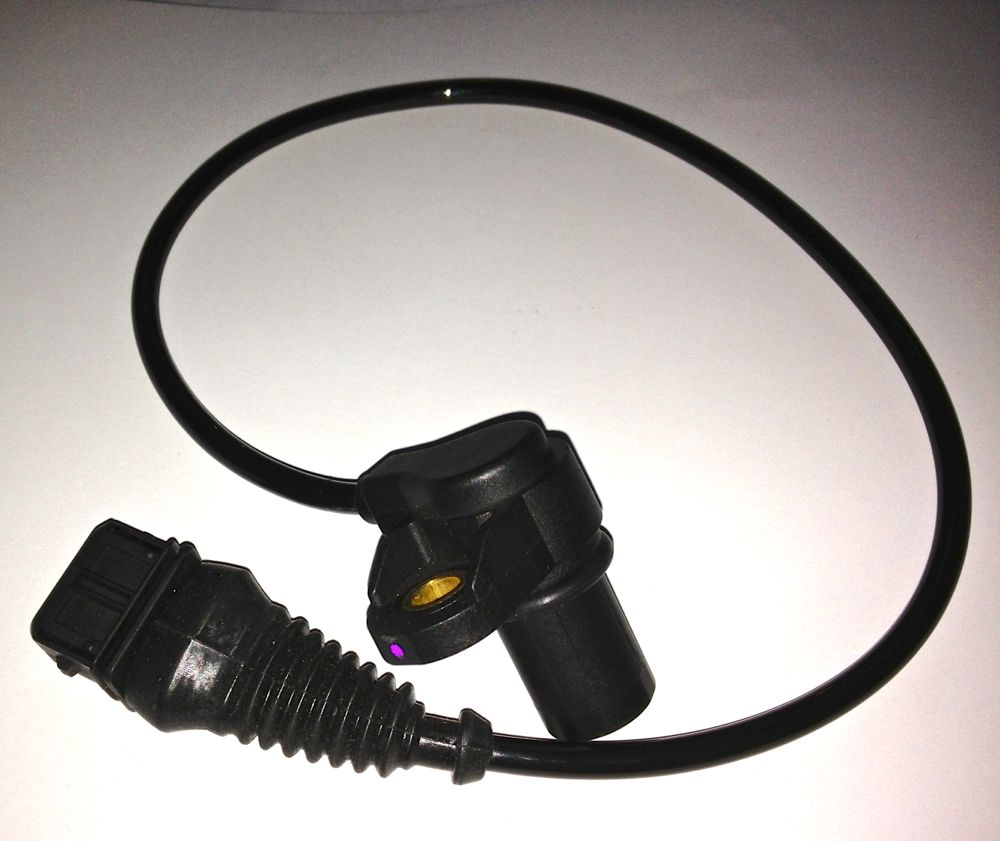
This is the sensor I will be using, which conveniently takes a readily available connector, that doesn’t require exotic crimpers. I have ordered another one for Brian’s engine, as this needs two.

I have identified an ignition system that I could use, that allowed adjustments via a laptop on the fly, which means as you are driving along, unlike TuneECU & my brother’s KTM, but that’s another story. Anyway, after looking at the ignition system some more and exploring how I could build it in neatly to the existing engine, I decided that the front cover was the best choice for my future plans. I need a cam sensor, and I have looked at using the pushrods, the rocker arms and a proximity sensor, but it was all too complicated. I modified Brian’s front cover to take a modern oil seal, and was going to start making a pulley based trigger wheel like I drew some time ago. However the cost of these parts outweighed their usefulness, so I decided Ito revisit the cover again. A couple of hours later, I had a 3D model, based on the dimensions of the original pressed cover,, that had the flexibility to accept any manner of different tooth triggering systems, and a front crankshaft seal that could cater for all ranges of front pulley mods others have done.
A few hiccups, later, one revision to cope with the planned programmable ignition unit, another because of the cost of the sensor loom, meant I’m on the third & hopefully final iteration of the new front cover. It should be more affordable, especially as I have got rid of those over priced Renault connectors. At the moment it is machined from billet, but there is a possibility I can use a casting, however this depends on numbers and whether it is economic to go this type of production process. because you still have to machine the casting, although you do save on roughing out the billet.


This is the sensor I will be using, which conveniently takes a readily available connector, that doesn’t require exotic crimpers. I have ordered another one for Brian’s engine, as this needs two.

blog comments powered by Disqus
