Panhard front pulley kit
Sunday 08 July 2012 Filed in: Panhard Parts
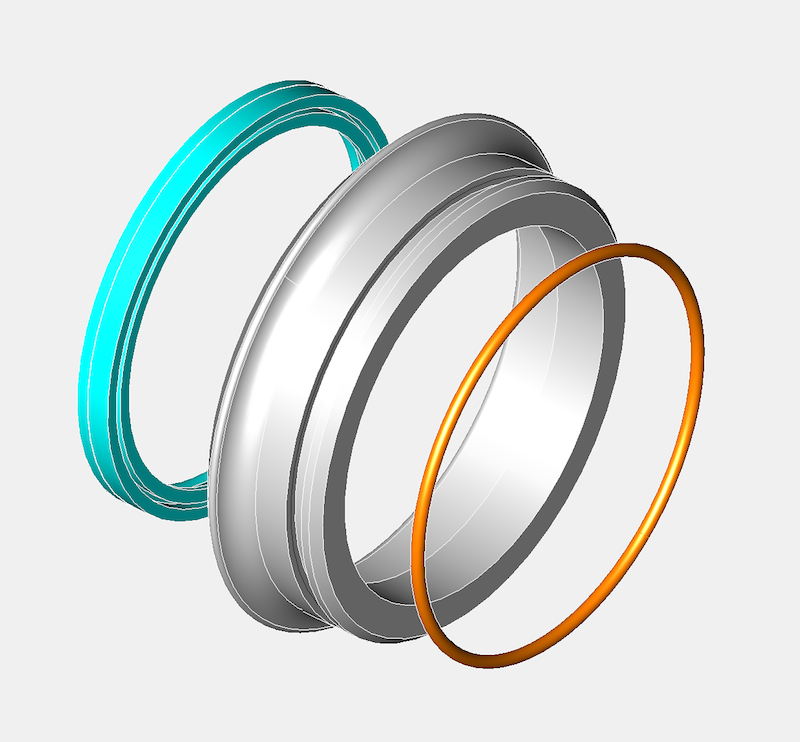
I sent a few links off to a few people and from their feedback and just to avoid any confusion, the new front pulley kit will only work with a revised seal arrangement. To update the seal you need to fit these components, which will be available assembled or as separate parts for future maintenance if required.

However, as the space available is limited within the OEM timing gear cover, the front pulley kit and the seal kit are designed to be an easy fit upgrade option, which is much the same philosophy as the filter kit upgrades, and an added bonus for those that are not removing the engine or doing additional works in this area. Initially fitting this kit might seem daunting at first, but it is really designed to be as foolproof as possible.
Obviously when the parts are made, I will post a video outlining the installations and use in situ photographs covering the assembly procedure.
ASSEMBLY PROCEDURE
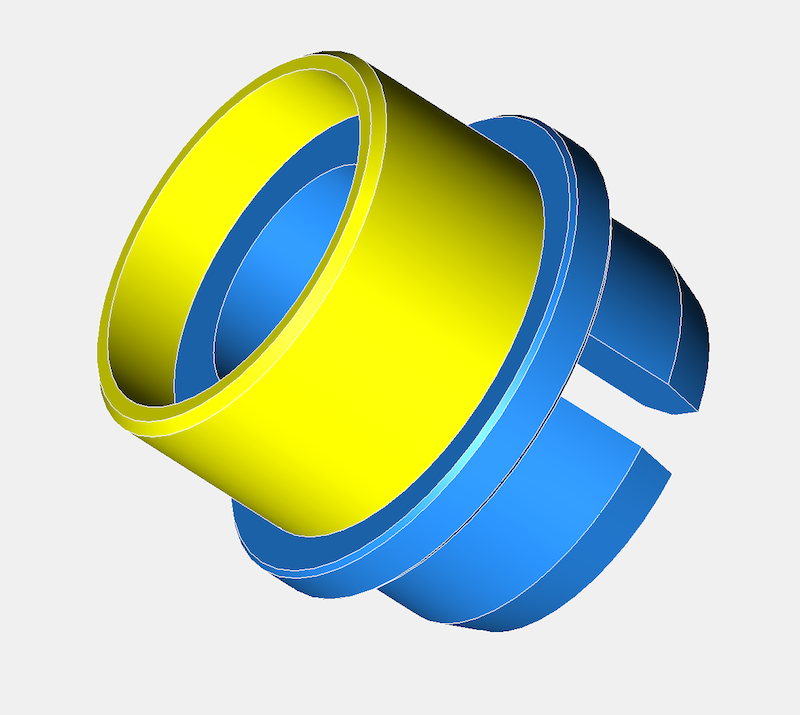
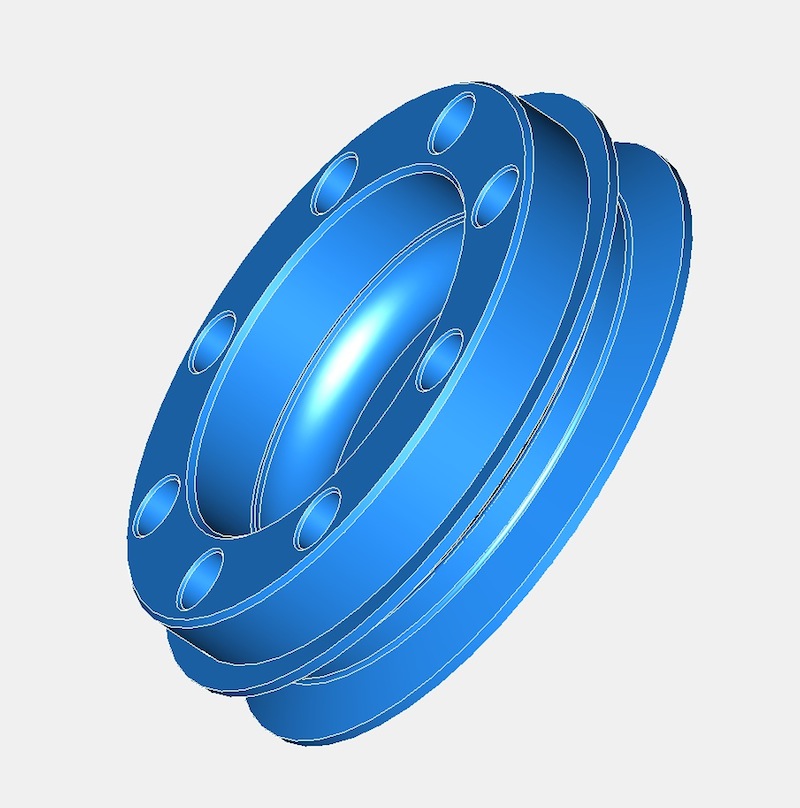
First remove the old pulley after removing the fan and saving all the springs and wooden blocks. Leaving the timing gear cover in place, install the inner part of the pulley, which will consist of an aluminium centre and a steel inner ring already assembled together, engaging the key in the slot.

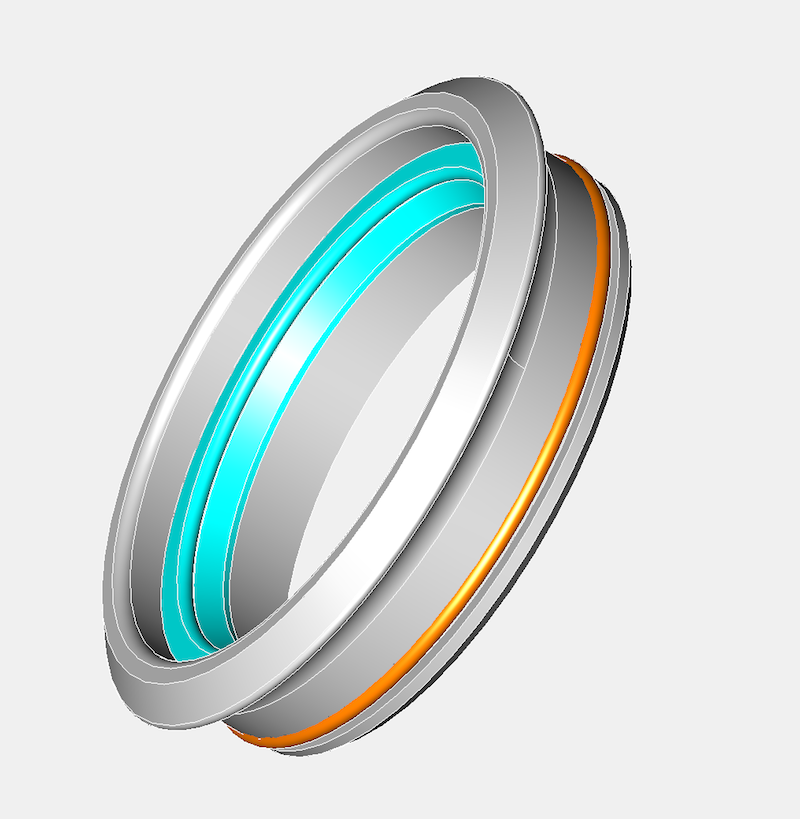
Next place the lightly oiled seal assembly, which will come ready assembled, over the timing gear front pulley aperture, and slide the seal over the inner ring until the steel ring is against the timing gear cover. The stainless steel ring should just be inside the opening, and now needs pressing into place.

Using the crankshaft front pulley bolt, and a spacer, press the seal assembly into position, by tightening the crankshaft bolt until the stainless steel seal adaptor is fully seated against the timing gear cover. The interference fit should be enough of an oil tight arrangement, but there is an O ring seal detail to make sure it is.

Remove the front pulley crankshaft bolt & spacer, and then place remaining part of the front pulley kit, which will be a sliding fit, into the steel inner ring. Next fit all the springs, wooden blocks, and other fan related parts and rebuild the fan assembly, not forgetting the V belt. Then refit the crankshaft pulley bolt and tighten to OEM torque figures.
Note, there is a dowel pin detail that aligns the front pulley in a set position, which will be used for those owners that want to fit a trigger wheel, whose primary purpose is to facilitate the use of third party ignition or modern engine management systems to their vehicle.

However, as the space available is limited within the OEM timing gear cover, the front pulley kit and the seal kit are designed to be an easy fit upgrade option, which is much the same philosophy as the filter kit upgrades, and an added bonus for those that are not removing the engine or doing additional works in this area. Initially fitting this kit might seem daunting at first, but it is really designed to be as foolproof as possible.
Obviously when the parts are made, I will post a video outlining the installations and use in situ photographs covering the assembly procedure.
ASSEMBLY PROCEDURE
First remove the old pulley after removing the fan and saving all the springs and wooden blocks. Leaving the timing gear cover in place, install the inner part of the pulley, which will consist of an aluminium centre and a steel inner ring already assembled together, engaging the key in the slot.

Next place the lightly oiled seal assembly, which will come ready assembled, over the timing gear front pulley aperture, and slide the seal over the inner ring until the steel ring is against the timing gear cover. The stainless steel ring should just be inside the opening, and now needs pressing into place.

Using the crankshaft front pulley bolt, and a spacer, press the seal assembly into position, by tightening the crankshaft bolt until the stainless steel seal adaptor is fully seated against the timing gear cover. The interference fit should be enough of an oil tight arrangement, but there is an O ring seal detail to make sure it is.

Remove the front pulley crankshaft bolt & spacer, and then place remaining part of the front pulley kit, which will be a sliding fit, into the steel inner ring. Next fit all the springs, wooden blocks, and other fan related parts and rebuild the fan assembly, not forgetting the V belt. Then refit the crankshaft pulley bolt and tighten to OEM torque figures.
Note, there is a dowel pin detail that aligns the front pulley in a set position, which will be used for those owners that want to fit a trigger wheel, whose primary purpose is to facilitate the use of third party ignition or modern engine management systems to their vehicle.
blog comments powered by Disqus
